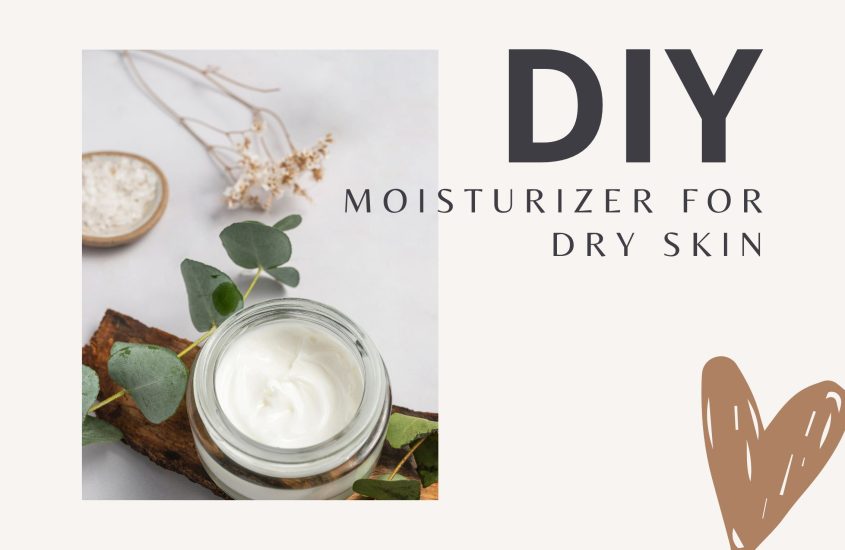
DIY: moisturizer for dry skin

I love making my own moisturizer, and I mainly use them to moisturize my body. By selecting the ingredients yourself, you can tailor the moisturizer to meet your skin’s specific needs, which I find to be the best part. There are several different methods for making your own moisturizer. In this blog, I’ll show you a very simple method for making a basic moisturizer with just four ingredients. At the bottom of this blog, you’ll find an instructional video, but be sure to read through this blog first before you start!
Kies ingrediënten die bij jouw huidtype passen:
| Dry Skin | Oily Skin | Sensitive Skin | |
| Oil Type (organic) | Avocado oil Coconut Oil Olive Oil Argan Oil Almond Oil | Line Seed Oil Almond Oil | Hazelnut Oil* Wild Rose Oil Jojoba Oil |
| Emulsifier | Lamecrème | Lamecrème | Lamecrème |
| Thickners/Butters | Cacao Butter Shea Butter | Cacao Butter Mango Butter | Shea Butter |
| Water Sort | Distilled Water Rose Water | Distilled Water Rose Water | Distilled Water Rose Water |
Supplies for 100 ml / 3.3 fl. oz. Moisturizer:
- Small beaker glass (100 ml)
- Large beaker glass (1Litre)
- 2 small glasses or saucers
- Thermometer
- Stirrers
- Digital scale
- Alcohol 96%
- 1 cotton pad
- 225 grams organic oil by choice
- 8 grams lamecreme
- 4 grams butter such as mango or shea butter
- 63 grams of distilled water
Step 1
Wash your hands and clean the materials. Apply some alcohol to the cotton pad and wipe the inside of the beaker glasses, the scale, and the thermometer.
Step 2
Weigh each ingredient separately. Weigh 63 grams of water in a small beaker glass. This is the water phase. In a large beaker glass, weigh 25 grams of oil. Weigh 8 grams of moisturizer base on a separate saucer or in a glass, and 4 grams of butter. Add the moisturizer base and butter to the oil. This is now the oil phase.
Step 3
Heat the beaker glass with the water phase and the oil phase in a double boiler. Remove them from the heat source when the oil is clear (meaning the butter and moisturizer base are dissolved). Neither phase should exceed 70 degrees.
Step 4
Gradually add the water to the oil while stirring continuously. Do not do this the other way around! Stir for at least 10 minutes until a homogeneous mixture is formed. After a few minutes, the mixture will start to look flaky. At this point, the oil and water will begin to bind. Continue stirring vigorously.
Step 5
Let the mixture cool to 40 degrees. Optionally, add fragrance and/or preservatives. When the mixture is completely cooled, you can store it in a jar or dispenser. I always prefer a dispenser because it keeps the moisturizer fresh for longer without exposure to bacteria, light, or air.
Cold Pressing
There are different methods for obtaining vegetable oils. One of those methods is cold pressing, where the oil is obtained from the material without a heating process. During this process, the valuable substances of the plant remain intact. So, when purchasing your ingredients, keep this in mind.
Allergens
Optionally, you can add fragrance and preservatives to the moisturizer. But if you are prone to irritation, I advise against it. Moreover, the moisturizer smells nice even without adding these ingredients.
And then the most important thing…
- Do not use homemade moisturizer as sunscreen; instead, use safe sunscreen that you can buy in stores.
-
Do not use homemade moisturizer to treat skin problems such as acne, rosacea, pigmentation, melasma, skin irritation, psoriasis, or any other skin problem. Always consult a skin therapist or dermatologist for advice.
- Making your own moisturizer is mainly a fun activity. The ingredients I use in the video are very mild. If you’re still unsure, test a small amount on a small patch of skin before using the moisturizer entirely.
Good luck with making your own moisturizer! Will you let me know if it works or if you have any questions?
Love, Fabienne
Source: Lexicon van Cosmetische Grondstoffen, (2013)


Lydia Catersels
Hi!! I made this cream tonight. I am still a beginner in these things, but I really enjoy making it.
I used the exact same ingredients and did it the exact way, but it does not solidify. When you put the oil and water phase together, it thickens immediately, but mine does not. I stirred for a long time, but it does not thicken. How can that be?
Kind regards,
Lydia Catersels
Fabienne
Hi! Great to hear that you’re enjoying making your own cream — that’s such a fun and creative process!
If your cream isn’t thickening after combining the oil and water phases, even though you followed the recipe exactly, here are a few things that might have gone wrong:
Emulsifier issue:
The most common reason is that the emulsifier didn’t work properly. Double-check:
Did you use the right type and amount of emulsifier?
Was it fully melted and properly heated in the oil phase?
Temperature mismatch:
For the emulsion to form, both phases should be at similar temperatures (usually around 70°C or 160°F). If one is too cool or too hot, they won’t combine well.
Mixing technique:
You mentioned stirring, but ideally you need to blend (with a milk frother or hand blender) during the first minutes of mixing to help the cream emulsify and thicken.
Measurement accuracy:
Even a small deviation in oil/water/emulsifier ratios can affect the final texture. If possible, use a digital scale to weigh all ingredients precisely.
Cooling time:
Some creams take a little longer to thicken while cooling down. If it stays liquid even after cooling, then the emulsion likely failed.
Sanitization:
Make sure that all glassware and tools you use — especially anything you stir or mix with — are thoroughly sanitized. Any leftover bacteria or oils can interfere with the emulsion and prevent it from forming properly.